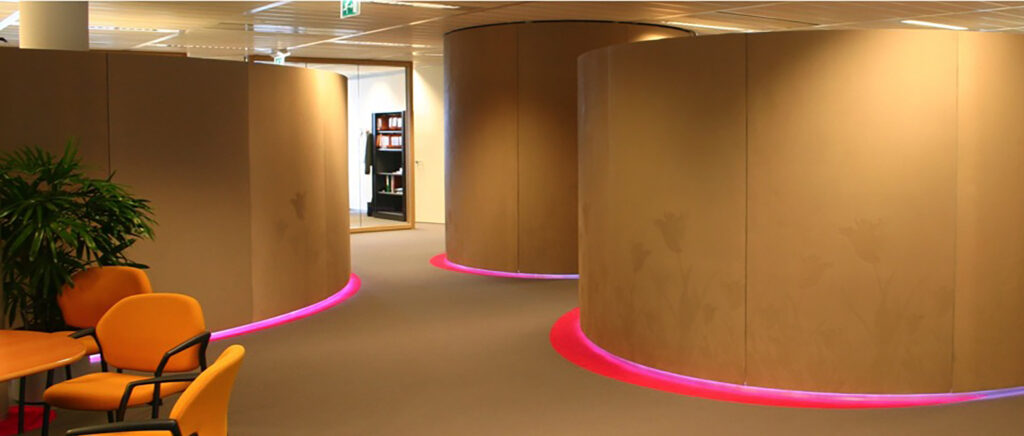
In 2006 Fokkema Architects made a design for an internal curved wall for the new office of IGZ (national office for health inspection) in Amsterdam. Besides that the wall has a complex shape (the radius of curvature varies from place to place) also relief pictures of tulips were to be incorporated in the surface. Because of these requirements on shape and surface finish the only possible material for making this wall is a fibre reinforced composite.
Because of requirements on fire behaviour and smoke development the use of well-known synthetic resins for making composite products (polyester, epoxy) is not possible. But A1 could easily meet the fire and smoke requirements and can be laminated in a mould so that the different curvatures and the surface finish are possible.
In 2007 Poly Products has developed a method for realizing the curved walls. The method consisted in the making of cylindrically shaped panels with different curvatures. These panels were to be mounted on a wood-based back-structure. It was important that the method allowed for easy installation and flexibility in adjusting to ensure that the edges fit smoothly to the neighbouring panels.
Most panels have a width of 1200 mm. By using a flexible silicone mould layer with the tulip print, panels with different curvatures could be made by placing this layer on a curved substructure. Thus, panels were made with a radius varying from – 6000 mm (concave) to + 6000 mm (convex). For easy mounting the elements were provided with two or three steel angle piece at the back of the panel on the top. By hanging these angle pieces on a wooden back structures the element could be adjusted until it fitted well, see figure below.
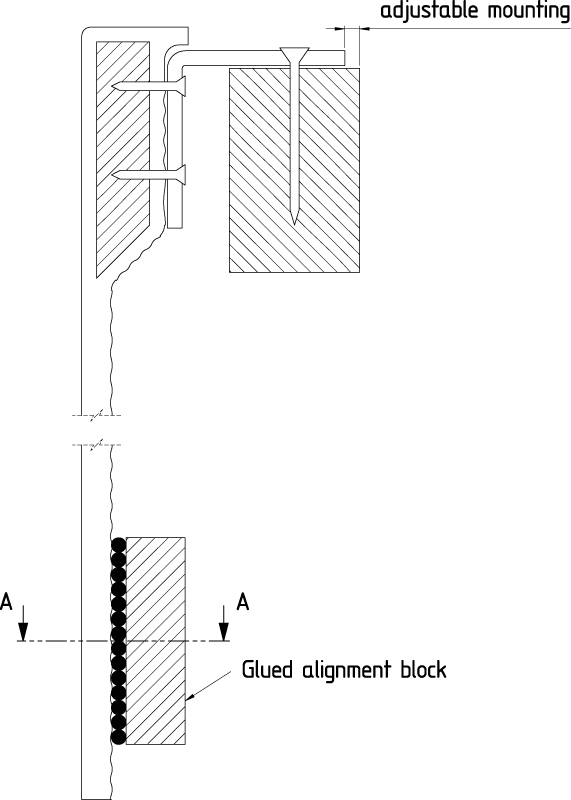
In order to make the connection with the neighbouring elements flush on the lower part of the element a glued alignment block has been used.
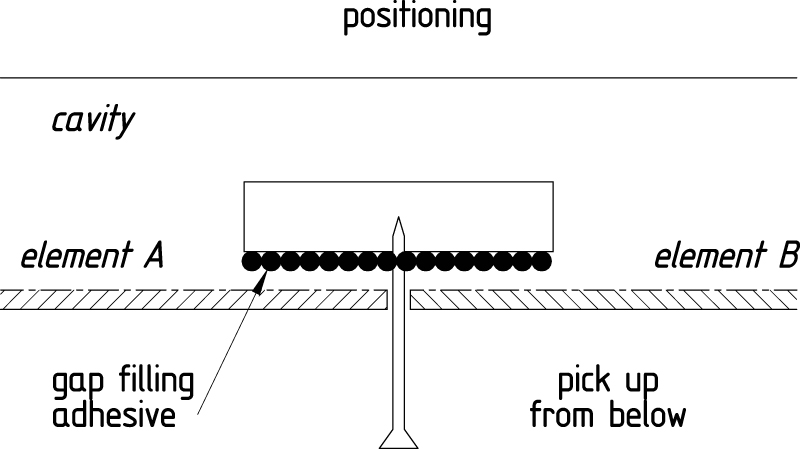
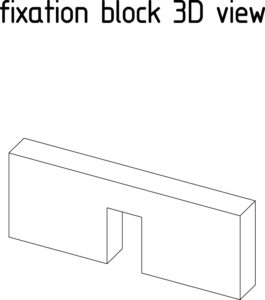
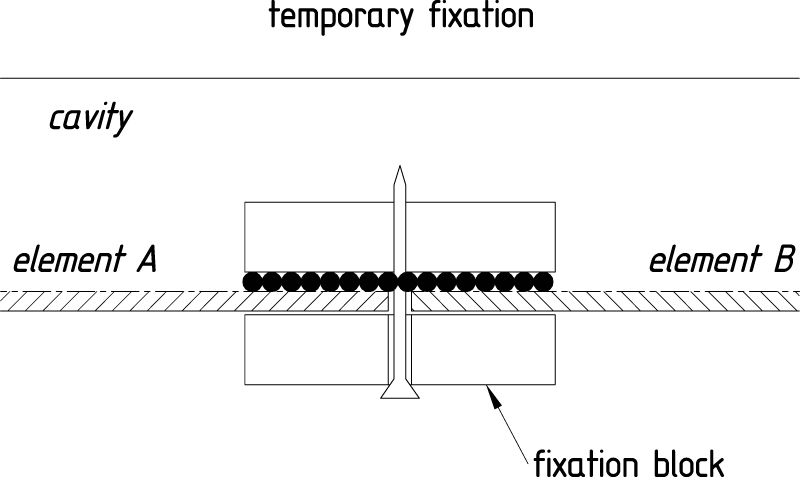
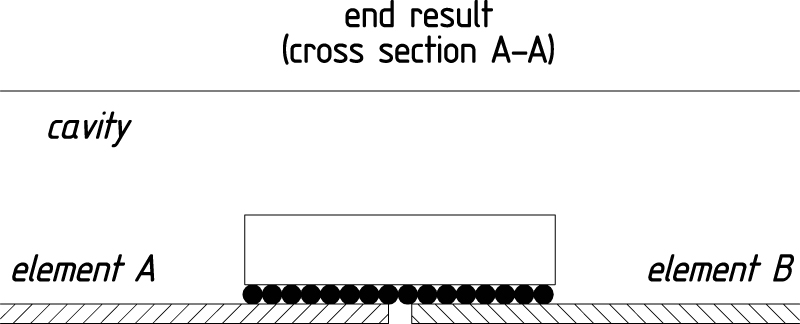
After the element was positioned and fixed with the angle pieces on top, an wooden alignment block with a layer of gap filling adhesive was moved from the bottom by using a thin, long screw, see picture ‘positioning’ below. Then, by sliding a temporary fixation block over the screw the alignment block can be temporarily fixed until the adhesive is solidified. The last picture ‘end result’ shows the result after removing the screw and the temporary fixation block.