Mixing A1

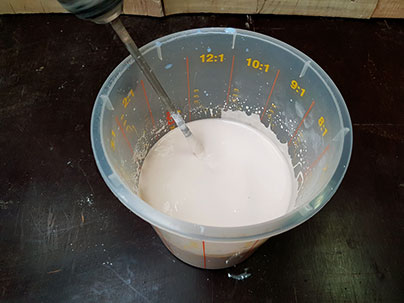
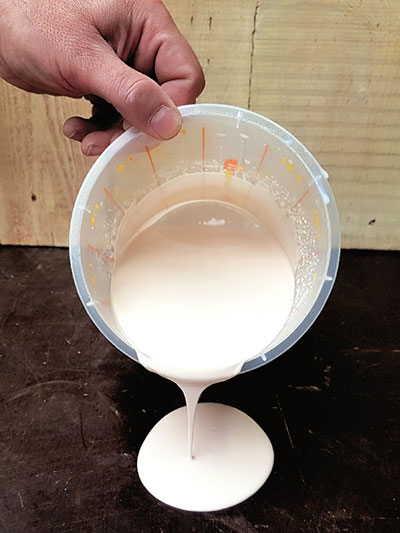
Mixing can be done with a stirring stick (small quantities) or with a High Shear mixer. First, start stirring the A1 Liquid and gradually add the A1 Powder.

The A1 is ready when any lumps have disappeared. Mixing takes about 1 minute. Try to mix with as few air bubbles as possible in the A1 by keeping the mixer head under the surface.

Processing time
After mixing, the standard processing time is 20 – 25 minutes. If a shorter or longer processing time is required, A1 additives can be added.

Settling time
A1 is a water-borne product. Residual moisture must evaporate to obtain the final properties. The time required for this is highly dependent on external factors such as the size of the object, temperature and humidity. If the object is laminated or cast in a mould, it can already be removed from the mould as soon as the strength is sufficient to withstand the forces that occur during this process. The product can then reach the optimal strength outside the mould.
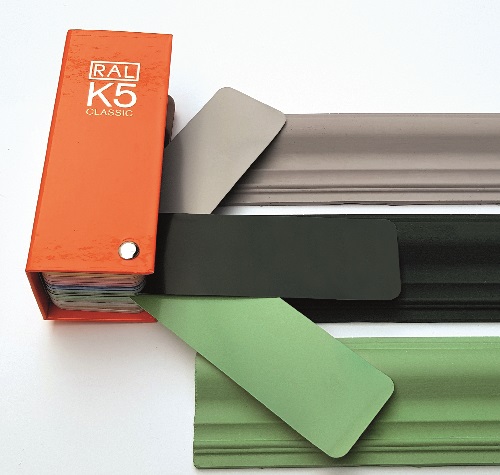
Colour
Without fillers or colourants A1 has the appearance of cream-white coloured stone.

Hardness
A1 has the hardness of approx. 80 Shore D.

Tool cleaning
Skin and hands can be washed with soap and water. Tools can be cleaned with water.
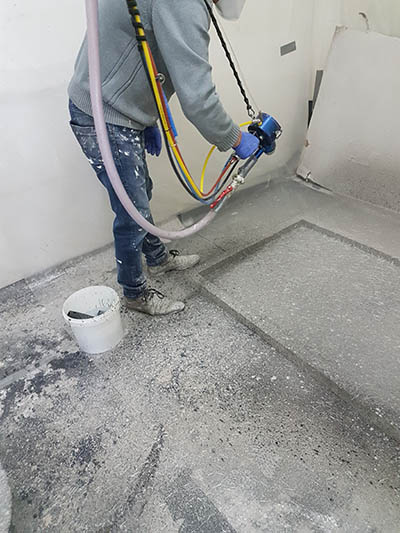
Equipment

Make sure all you equipment in in proper condition and ready to do the job. This also apply’s to your staff. Make sure they are trained or supervised properly in order to avoid mistakes you have to repair afterwards.

Processing methods

There are a number of possibilities to process A1. These are casting, brush, roller application, spraying and rotational casting.

Casting
After mixing, A1 can easily be poured into the mould.

Start (if possible) by brushing the mould, so that all unevenness/relief is touched with A1. The brush stripes disappear due to the fluidity of the material. The other A1 mass is poured along the edge so the A1 can flow smoothly into it.

Releasing the mould is often possible after 1 hour. For vulnerable objects, this period may be longer.

Brush, roller or spatula
With a brush or coat roller the A1 can be applied in a thin layer. This is particularly suitable for the application of a 1st layer A1, the so-called gelcoat layer or for laminating glass fabric such as A1 Triaxial fibre. The brush or roller can be cleaned afterwards with water. A spatula is suitable to obtain a smooth finish. For this we advise to thicken the A1 with A1 Thix A or A1 ATP Powder

Spraying
A1 is easy to spray. This makes it possible to apply a thin layer of A1. This technique is ideally suited for working with a (silicone) mould, but also for applying A1 on, for example, a form made of EPS (Expanded Polystyrene).

For the cup-gun a minimum nozzle size of 1,5 mm is required. A good result you get with 2,5 or 3 mm. Even a 3,5 mm can be used. We suggest to sift the A1 before spraying to remove lumps.

With a hopper gun the nozzle size can be bigger. Depends a little on the desired surface quality. Most hopper guns have a nozzle size of 4 – 6 mm.

For large quantities it is also possible to use a big spraying machine with chopped fibres.

Colouring A1

Ivory white
The base colour of A1 is ivory white. If desired, we have A1 suitable pigments in 10 colours with which the A1 can be coloured through and through. These pigments are highly concentrated and are added up to a maximum of 2% to the A1. Often a lower dose is sufficient to achieve the desired result. The A1 Pigments can be mixed with each other so that almost all RAL colours can be made.

Constant colour
We advise to work with 1 batch of pigment to prevent colour differences as much as possible. It is also possible, especially if a constant colour is required for large projects, to provide all the necessary A1 Liquid with a colour pigment in advance. It is almost impossible to achieve a 100% equal colour for all products. That is why we advise you to make it clear that colour differences are possible. 

Heat vs. colour
Dark colours absorb more heat than light colours. We also see this happening with dark coloured A1 objects. Although it does not affect the quality of the A1, these high temperatures can affect the materials and construction used in the A1 object.

Fillers

It is possible to add many other products to the A1 base material in addition to pigment and metal powders. This allows you to give the A1 a different look, change its properties and possibly save costs.

Frequently used materials are dried sand, very fine stones, marble powder, etc. Particle size is up to the costumer’s requirements but most common used is 0.1 – 2 mm. In addition to their aesthetic properties, these give the A1 a scratch-resistant and extra-hard top layer. By using sand of different colour and size, a granito or granite appearance can be obtained. In this case, after curing, the top layer can be sanded to bring the stone to the surface to obtain a greater contrast. Sand from the seaside is not suitable as it contains salts.


A1 Fibre Reinforcement

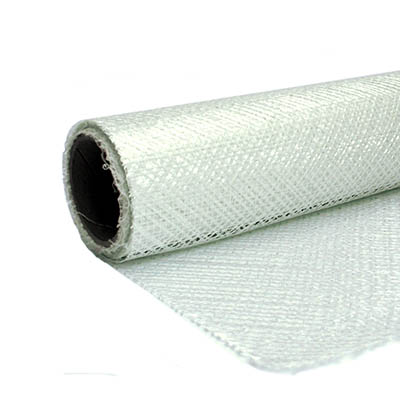
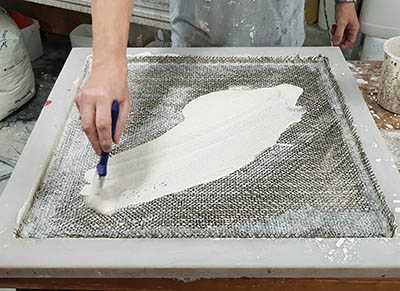
A1, unlike polyester, does not absorb A1 Triaxial fibre but clamps it in between the different layers of A1. That’s why our glass fabric has an open structure that allows the different layers of A1 to connect to each other and to clamp in the A1 Triaxial fibre.

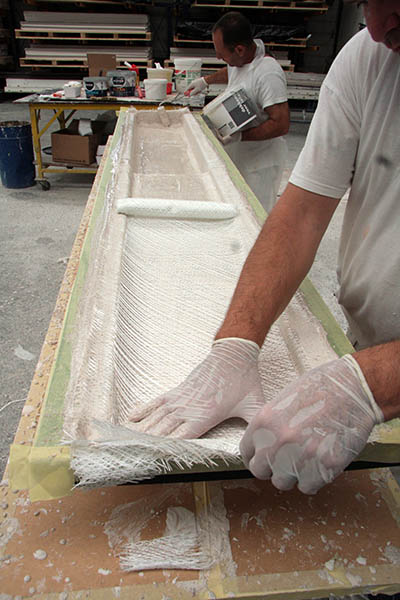
The best time to start laminating over the top layer is when it is drying but still feels slightly moist. immediately after the set time has expired.

The best result is achieved when the laminating layers are applied wet to wet. An advantage of A1 is that after a few days you can still apply A1 with A1 Triaxial fibre with a good adhesion. However, the substrate must first be coated with a wet layer of A1 before the A1 Triaxial fibre can be applied.

Even with larger surfaces it can happen that the A1 already reacts (is hard) before a new layer of A1 Triaxial fibre can be applied. This can be solved by applying a new thin layer of A1 or by slowing down the reaction time of the A1 using A1 Retarder.

A1 Triaxial glass fibre 160 gr/m2
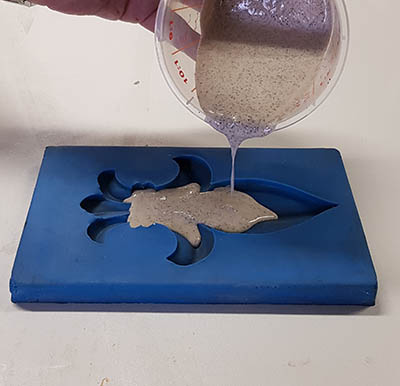
A1 Triaxial glass fibre is used in combination with A1. In this way, A1 objects can be created or covered in moulds with A1. Triaxial glass fibre strengthens the A1 objects.

  • A1 Triaxial glass fibre has an open structure and has been specially developed for A1.
  • It is flexible and easy drapable, even over round shapes.
  • Lightweight (160 gr/m2) yet very strong.
  • After use of 4 layers in combination with A1 will result in strong objects.