A few suggestions before you start your outdoor A1 Cladding project
A1 used for indoor applications has a lot of freedom with regard to the use of filling materials, coating systems and shape. However, everything that is outside is subject to weather and UV exposure and A1 cannot escape this either. The degree of weather and UV exposure partly depends on the location of the A1 object, the duration of the exposure and possible extreme weather. This overview contains our most important tips to keep your A1 creation in optimal condition in an outdoor environment. Although this list looks extensive you will notice that most of the recommendations are simple to work with.
A1 TOP LAYER
A1 is known for its freedom of form and the post-processing of an object made with A1 often gives spectacular results. Our suggestion is a thickness of the top layer of at least 2 mm in order to give enough mass to the A1 to maintain sufficient adhesion on the underlying layer and sufficient strength to withstand weather influences such as UV radiation.
Laminate A1 Triaxial fabric with sufficient A1
Using our A1 Triaxial fabric is an excellent way to strengthen A1. Two or more layers of A1 Triaxial fabric laminated in the A1 creates strong A1 objects. Unlike materials such as polyester and epoxy, the A1 does not absorb the glass fabric but clamps it between 2 layers of A1. The A1 in this case acts like a sandwich with the fabric sandwiched. That is why it is important to use sufficient A1 between the different glass fabric layers. Working too ‘dry’ results in a less strong end result and gives a greater chance of delamination (release of the different layers), which we want to avoid. Also on the very first layer before the 1st layer of glass fabric is applied (more than) sufficient A1 should be used to create an adhesion between the first layer and the glass fabrics.
In addition, we advice to apply the different glass fabric layers (alternating with A1 layers) directly after each other. Work wet in wet to get an optimal bond between the different layers.
A1 is not a coating material to protect other materials against weather influences
Regularly we are asked whether A1 can be used to weatherproof a sculpture made of plaster, clay or concrete blocks. Unfortunately, this is not recommended as A1 absorbs (to a limited extent) moisture and will transfer this moisture to the material that has to be made weatherproof. These materials eagerly absorb this moisture from the A1 without transferring it back to the A1 in dry conditions to evaporate.
This creates spots with a high continuous moisture load that weakens the connection between the A1 and the material it covers. At higher temperatures, the water evaporates or at low temperatures the water freezes. This creates so much pressure between the different layers that the A1 layer loses its bond with the underlying material. That is why we advise to only use (glass fabric reinforced) A1 or underlying materials that do not
absorb moisture.
EXPECTATIONS
A1 will undergo aesthetic changes
A1 used for indoor applications has a lot of freedom with regard to the use of filling materials, coating systems and shape. However, everything that is outside is subject to weather and UV exposure and A1 cannot escape this either. The degree of weather and UV exposure partly depends on the location of the A1 object, the duration of the exposure and possible extreme weather. This overview contains our most important tips to keep your A1 creation in optimal condition in an outdoor environment. Although this list looks extensive you will notice that most of the recommendations are simple to work with.
Regular inspection
Even if the perfect A1 object has been made, it can happen that due to an external influence such as a collision, a storm or a very long period of moisture exposure, the object is (slightly) damaged, for example, at the coating or the A1 top layer. There fore, inspect the A1 object for damage at least once a year. These can often be remedied quite easily.
Do maintenance
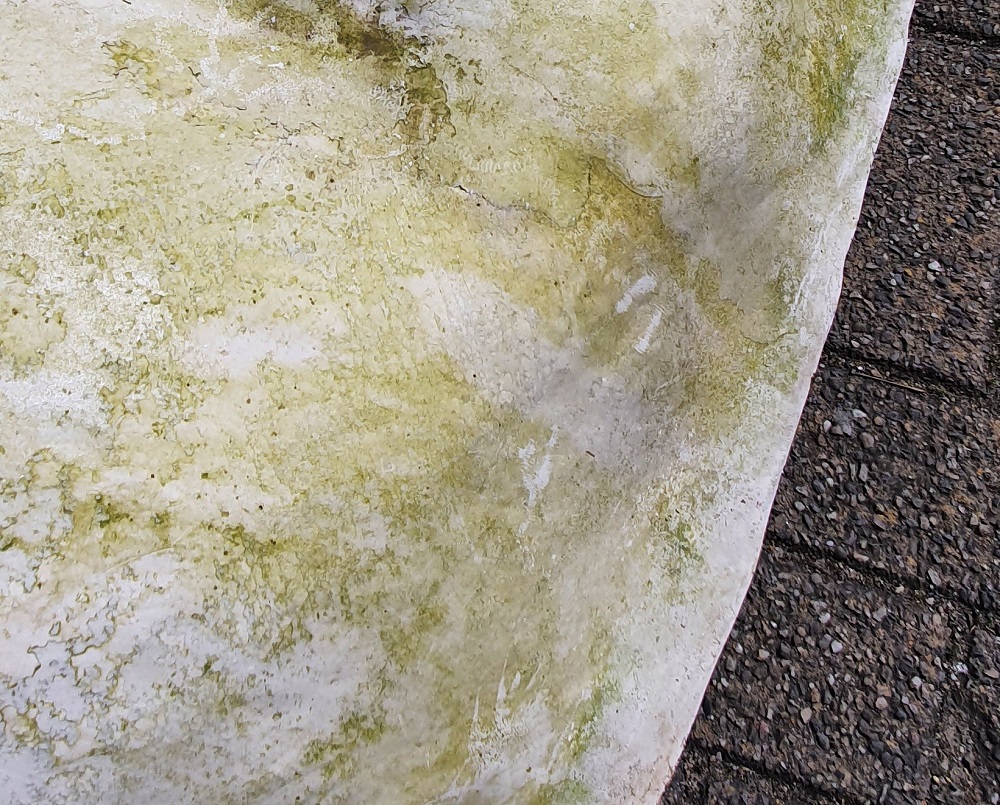
With prolonged and intensive UV and moisture exposure, coating and paint systems require regular maintenance. From our tests we see that (particularly on the sunny side) the Sealer PLUS is also subject to erosion and as a result the protection of the A1 decreases. On our North side and in particular on the A1 objects placed close to the ground, we see an increase in alga deposits on the test panels. Cleaning the A1 object at least once a year (soft brush) and applying a new coating every few years provides extra protection for the A1 and thus extends its lifetime.
TRAINING
Train and guide your people
A1 is very enjoyable to work with and easy to process. This can create the impression that anyone can laminate an A1 panel/object without and preparation or experience. Although laminating is not difficult, A1 does require attention and accuracy when, for instance, it comes to:
- weighing and correct mixing of the various components.
- the short time between the application of the – different layers (glass fabric reinforced) A1.
- extra attention for the application of the top layer and the connecting 2nd glass fibre reinforced layer to prevent air entrapment.
- caution when unloading the product from the mould.
- the correct storage from the A1 panel/object after production.
That is why we advise to give you and your people a headstart to practice working with A1. Let them produce a number of A1 test objects before starting to work on the production. Especially for people who are used to working with polyester and epoxy we advise this training as A1 requires (slightly) different working methods.
MOISTURE CONTROL
A1 needs to breathe
A1 attracts moisture and also releases it during dry periods. Therefore, the urgent advice not to disrupt this process by using a non damp open sealing paint or coating. The moisture still present in the A1 is converted into water vapor during warm periods and this can damage the coating system or the A1 top layer. A1 objects that are also not able to ventilate on the inside because of the use of, for example EPS, are extra vulnerable.
Make sure residual moisture has disappeared
During the production process, moisture in the A1 liquid reacts with the A1 powder. A part of the moisture remains behind (residual moisture). Therefore, before an object is placed outside, it is important to make sure that the residual moisture has disappeared from the product. The duration of this depends, among other things, on the construction of the A1 object, the thickness of the laminate, the humidity present and the temperature of the storage location. Our advice is to give the A1 object the chance to evaporate the residual moisture in a covered area with room temperature for at least 7 days. At that time, the coating can also be applied.
Avoid horizontal parts
A1 can withstand rain showers or an environment with a higher moisture load. In a situation where the A1 object is (very) long exposed to moisture, without the chance to dry again regularly, the top layer can become softer and in extreme cases even loosen from the underlying layers. That is why our advice is to ensure that (rain)water can always drain off the A1 object easily. Provide sufficient slope and avoid horizontal or badly sloping parts in the A1 object.
Avoid moisture collection
Very occasionally we come across A1 projects where the water can collect in. As long as this place is provided with sufficient protection, it will not be a problem for the A1 for a few days. For a longer period of time, this is something we really do not recommend.
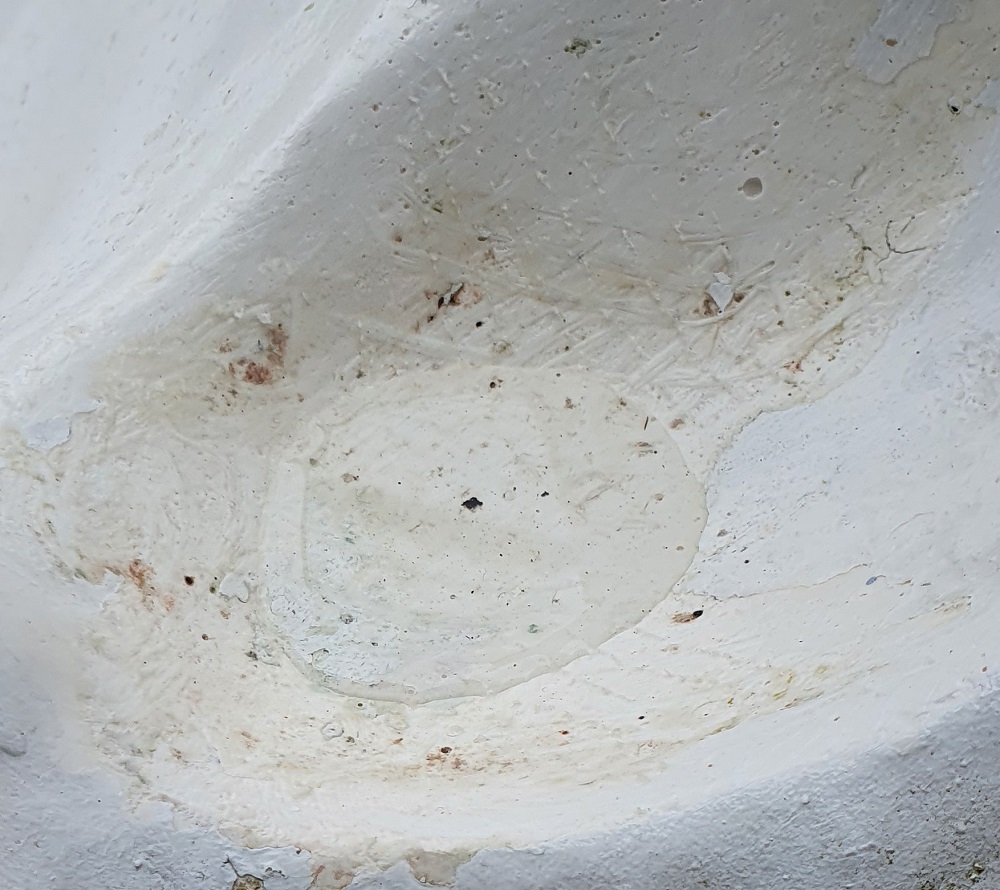
Similar to what we sometimes find on construction sites where A1 panels are stored before being mounted with the panels facing outwards with the wrong side up. This gives the rainwater every chance to collect and, because often no coating is applied to the rear, the water has every chance to penetrate into the A1. Constructively, this is not a problem for the A1 over a short period, but on the visible side, the places where the moisture has penetrated will soon be visible, even after it has dried.
PUR/PIR Foam
Although A1 on PUR/PIR adheres very well we advise to avoid the use of these foam systems. EPS can do the job with less risks compared to PUR/PIR. PUR/PIR is easier to shape by hand but that is probably the only advantage compared to EPS. Less risks, better water resistance and pricewise EPS is a better solution. Thermal expansion is more less the same as we see with EPS but the form stability and possible after-foaming caused by moisture is an problem with PUR/PIR. This has to do with the way of producing these systems. Also, the use of PUR foam to fill up a product made of A1 is strongly not to be advised as well. The chemicals inside the PUR foam can have a negative influence on the A1 and the unpredictable foaming with high pressures can cause cracking as well. Even when using 3 or 4 layers of A1 Triaxial fibre.
Use filling materials that do not absorb moisture
A1 is excellent to use in combination with a large number of filling materials. It adheres excellently to, for example, wood, textiles and chicken wire. Is it possible to add almost all small ground materials to the A1 mixtures, creating special shapes in appearance and structure.
For A1 objects that are placed outside, carefully consider beforehand whether this combination of materials also works well here. For example, we know that wood attracts moisture via the A1 and can even expand, causing the A1 layer to crack. Chicken wire will start to rust due to the moisture present in the A1 and this creates traces of rust in the A1. We encountered A1 objects where hydro grains were mixed in the A1 because it gave a nice structure. Subsequently, these hydro grains absorbed so much moisture that the surrounding A1 became soft and the top layer A1 with hydro grains subsequently separated from the underlying glass fabric reinforced A1 layers.
Only use filling materials that do not absorb moisture or that will corrode due to the moisture present. We have had good experiences with materials that do not absorb moisture and rust, such as granite, sand, EPS (styrofoam) and aluminum.
Reinforcement materials and inserts required for mounting can cause problems in outdoor situations when these materials absorb moisture such as wood. Then use aluminum, stainless steel, EPS or pre-produced reinforcement profiles or backs of A1.
Extend the life with a damp open coating system.
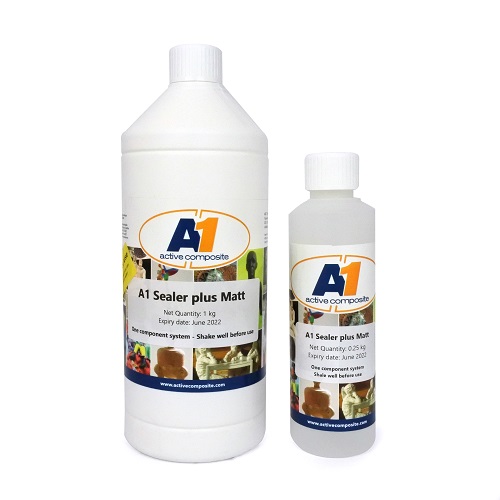
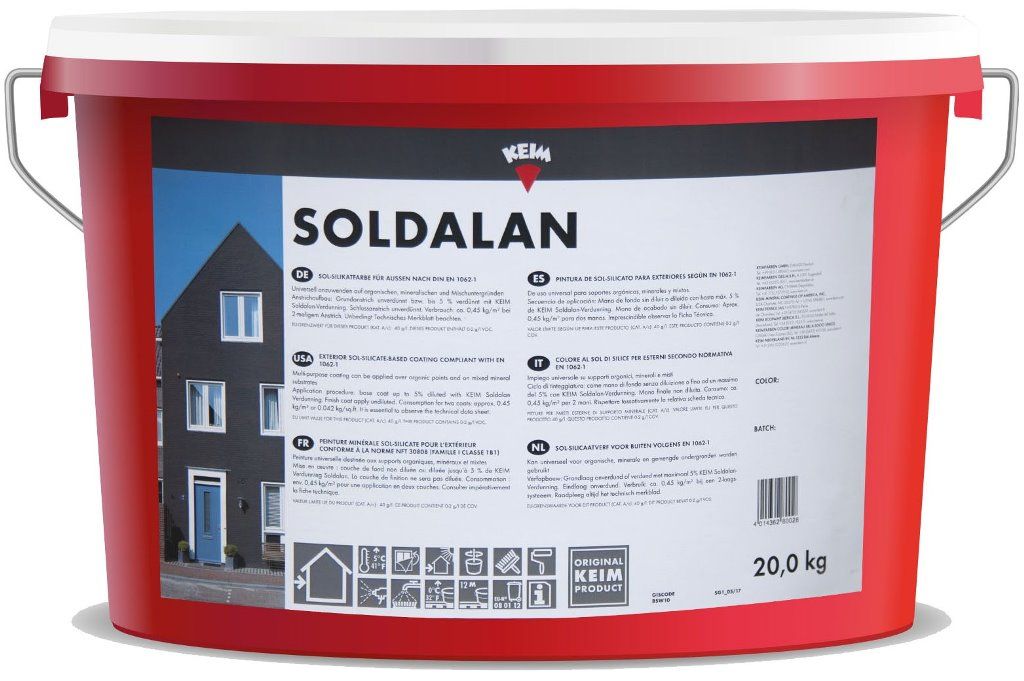
Our tests show that A1 objects can be placed outside for a long time with only a limited change on the outside. To extend this period by many extra years, we recommend applying a coating. This coating protects the A1 object because it absorbs the influence of weather conditions. Because A1 is a material that absorbs and releases moisture (breathable material), it is important to ensure that the coating system also has a breathable effect. The A1 Sealer PLUS is suitable for this, but also many wall paints such as KEIM Soldalan.


